How to Preserve Wedding Bouquet Forever

Your wedding bouquet is so much more than a beautiful accessory for a day. It’s a living, breathing piece of your wedding, and preserving it turns that fleeting arrangement into a permanent reminder of your vows and the joy you felt walking down the aisle.
It’s a way to freeze a perfect moment, turning your flowers into a tangible piece of your history.
Why Your Bouquet Deserves to Be a Lasting Memory

Long after the last dance, your bouquet remains one of the most personal symbols of your wedding day. It’s an art piece you held close, with every flower carefully chosen to reflect your style and story. Deciding to preserve your wedding bouquet is about capturing that emotion and artistry forever.
This isn’t just a niche idea anymore. The global market for preserved flowers hit USD 180 million in 2023 and is only expected to climb. It’s clear that more and more couples are seeing the value in investing in these beautiful keepsakes.
More Than Flowers, It’s Part of Your Story
When you preserve your bouquet, you’re creating a deeply personal piece of home decor. Forget just looking at photos—this gives you a physical connection to the day you said “I do.”
- A Daily Reminder: Displaying your bouquet keeps the happiness and commitment of your wedding day front and center in your daily life.
- A Future Heirloom: A professionally preserved bouquet can become a treasured family heirloom, passed down through generations with its own unique story.
Beyond traditional registries, couples often seek unique wedding gift ideas that build a lasting legacy; preserving your wedding bouquet serves this exact purpose, capturing the emotional weight and sentimental value of your special day.
Ultimately, your bouquet was a custom creation designed just for you. By preserving it, you’re honoring the artistry and ensuring its beauty doesn’t fade along with the memories.
Choosing the Right Preservation Method
Deciding how to keep your wedding bouquet forever is a big deal. It’s a personal choice that really comes down to the look you’re going for, what you want to spend, and how much of a project you’re up for.
Each technique gives your flowers a totally different second life, so it helps to know what you’re getting into. The path you choose will completely shape whether your bouquet ends up looking rustic and antique or as if it was just frozen in time.
Comparing the Popular Techniques
If you love a classic, nostalgic vibe, air-drying is probably the simplest way to go. It’s an easy DIY project that gives you a beautiful three-dimensional keepsake with a charming, rustic feel. Just know that the colors will likely darken and mute a bit, which is part of its vintage appeal. This works especially well for hardy flowers like roses.
What if you want those colors to stay bright and true? Silica gel is your best bet for a DIY project. The tiny crystals are masters at pulling moisture from the petals while keeping their original shape and vibrant color intact. It’s a bit more hands-on than air-drying, but the payoff is a bouquet that looks stunningly lifelike.
Choosing a preservation method is like picking a filter for a favorite photo. Each one—air-drying, pressing, or freeze-drying—captures the same memory but presents it with a completely different mood and style.
For a more artistic, delicate memento, pressing your flowers creates something truly special. This method turns your bouquet into a flat, two-dimensional piece of art that’s perfect for framing. It’s a wonderful way to appreciate the unique shape and details of each individual bloom.
And if you’re looking for a flawless, museum-quality heirloom, professional freeze-drying or resin preservation is the top-tier choice. Experts use specialized equipment to lock in your bouquet’s original shape, size, and color with incredible precision. It’s definitely an investment, but the breathtaking result is a piece of art that will last a lifetime.
Comparing Wedding Bouquet Preservation Methods
To make the decision a little easier, it helps to see everything side-by-side. Think about what matters most to you—is it the final look, the cost, or the time it will take?
| Method | Final Look | DIY Difficulty | Estimated Cost | Time Required |
|---|---|---|---|---|
| Air-Drying | 3D, rustic, muted colors | Easy | $ (minimal) | 2-4 weeks |
| Silica Gel | 3D, vibrant colors, lifelike shape | Medium | $$ (materials) | 1-2 weeks |
| Pressing | 2D, flat, delicate, artistic | Medium | $ (minimal) | 2-4 weeks |
| Professional Service | Flawless 3D, true-to-life color and shape | N/A (Pro) | $$$ (significant) | 3-6 months or more |
No matter which route you take, you’re creating a tangible piece of your wedding day to cherish. Each method has its own unique charm and beauty.
Your Guide to DIY Bouquet Preservation

There’s something incredibly special about preserving your own wedding bouquet. It’s a hands-on project that lets you hold onto a piece of your big day, creating a beautiful keepsake with your own two hands. A little patience goes a long way, but the real secret is timing—the sooner you start, the better your flowers will look.
You’ve got a few fantastic options for preserving your bouquet at home, but the most popular are air drying, pressing, and using silica gel. Of these, air drying is by far the simplest and most classic approach. It’s no wonder that roses are a top choice for preserved wedding flowers; their hearty petals and sturdy stems make them a perfect candidate for these DIY methods.
The Classic Air-Drying Method
Air-drying is your go-to if you’re dreaming of a timeless, three-dimensional keepsake with a beautifully rustic vibe. It’s a wonderfully straightforward process that requires almost no special equipment.
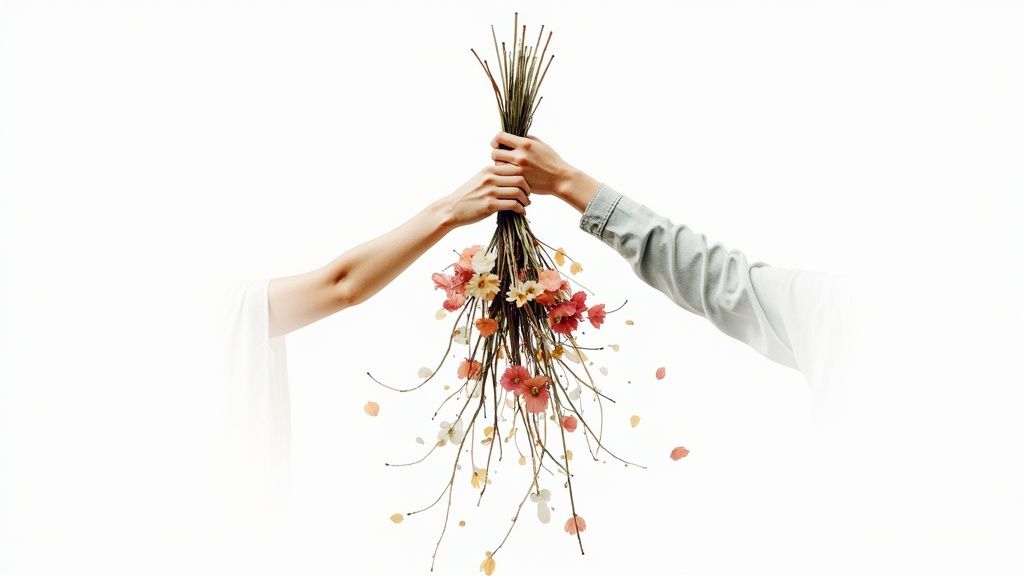
First, you’ll want to gently strip any extra leaves from the lower parts of the stems. Next, gather the stems and tie them together snugly with some twine or a rubber band. The key is to find a dark, dry spot with good air circulation—think a quiet closet or a forgotten corner in a spare room—and hang the bouquet upside down.
Hanging them this way lets gravity do the work, helping the flowers keep their shape as they dry out over the next two to four weeks. You’ll know the magic has happened when the petals feel delicate and crisp to the touch.
Using Silica Gel for Vibrant Color
What if you want to capture the brilliant, true-to-life color of your bouquet? In that case, silica gel is your best friend. This method uses a desiccant (a fancy word for a substance that absorbs moisture) to dry the flowers quickly, locking in their original vibrancy.
You’ll need an airtight container big enough to hold your flowers without smooshing them. Start by pouring about a one-inch layer of silica gel on the bottom. Place your flowers carefully on top, then gently add more gel, making sure to work it around and between every single petal until the blooms are completely covered.
Seal it up tight and tuck it away for about one to two weeks. When you finally open the container, you’ll be amazed at how much they look just like they did when you walked down the aisle. If you need some pointers on keeping your flowers fresh before you start, take a peek at our guide on how to make flowers last longer.
Pro Tip: Whichever method you choose, don’t rush it. Patience is truly your most important tool here. Checking on your flowers too early can mess up the drying process and leave you with brittle, disappointing results.
When to Call in a Professional

While the DIY methods are incredibly rewarding and personal, sometimes you just know you want that museum-quality finish. If you’re dreaming of a keepsake that looks as vibrant and perfectly shaped as it did on your wedding day, it’s time to call in an expert.
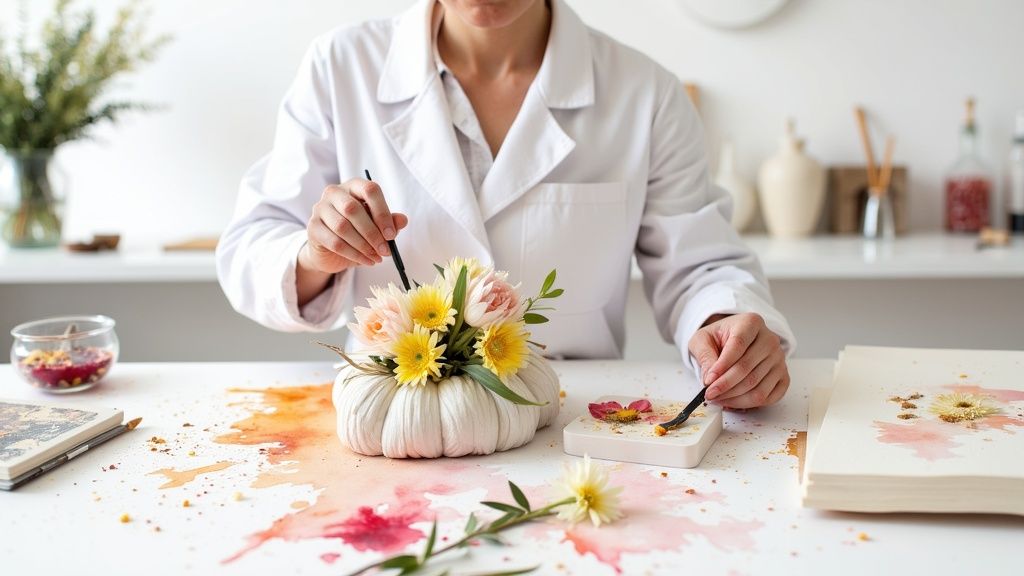
Professional preservationists are true artists. They have access to specialized techniques and equipment that are simply out of reach for at-home projects. Think about methods like freeze-drying, which delicately removes every bit of moisture at freezing temperatures to lock in the flower’s original color and form. Or imagine your blooms suspended flawlessly in epoxy resin, creating a stunning, crystal-clear sculpture. These are complex, technical processes that take years to master.
What to Expect from the Pros
Hiring a preservation artist isn’t just a transaction; it’s a creative partnership. The process actually starts long before you say “I do.”
- Find Your Artist Early: Don’t wait until the last minute! The best preservationists book up months in advance. Treat this search with the same care you would for your other vendors. In fact, our guide on how to choose a wedding florist has some great tips for finding the right creative fit.
- Plan Your Post-Wedding Handoff: Once you’ve booked, your artist will give you detailed instructions on how to carefully pack and overnight your bouquet to them. This step is critical to getting it there in perfect condition.
- Collaborate on the Final Design: After the preservation is complete, the fun part begins! You’ll work together to design the final piece, whether that’s a classic shadow box, a modern resin block, or something completely unique to you.
Professional preservation is an investment in a piece of art that tells your story. It’s not a quick turnaround—expect the process to take anywhere from three to six months. But the result is a breathtaking heirloom that will last for decades.
The world of floral preservation has come a long way, too. Thanks to new technologies, the quality and longevity of professionally preserved bouquets are better than ever, ensuring they remain beautiful for years to come. The growing preserved flower market is a testament to these innovations. By choosing a pro, you’re not just saving your flowers; you’re turning them into a timeless masterpiece.
Displaying and Caring For Your Preserved Flowers

You’ve done the hard part—your bouquet is beautifully preserved! But the journey isn’t quite over. Now it’s time to find the perfect spot for your keepsake and make sure it stays gorgeous for years to come.
Proper placement is everything. Think of your preserved flowers as a delicate piece of art, because that’s exactly what they are. Their two biggest enemies are direct sunlight and humidity.
UV rays from the sun will inevitably bleach those once-vibrant colors, and moisture in the air can cause discoloration or, even worse, mold. Find a home for your bouquet away from bright, sunny windows and steer clear of humid spots like the kitchen or bathroom. It’s a lot like preserving artwork for a lifetime—a little preventative care goes a long way.
Creative Display Ideas
Don’t just stick it on a random shelf! Your bouquet deserves to be a focal point—a beautiful, tangible memory of your wedding day. Here are a few ideas to get you inspired:
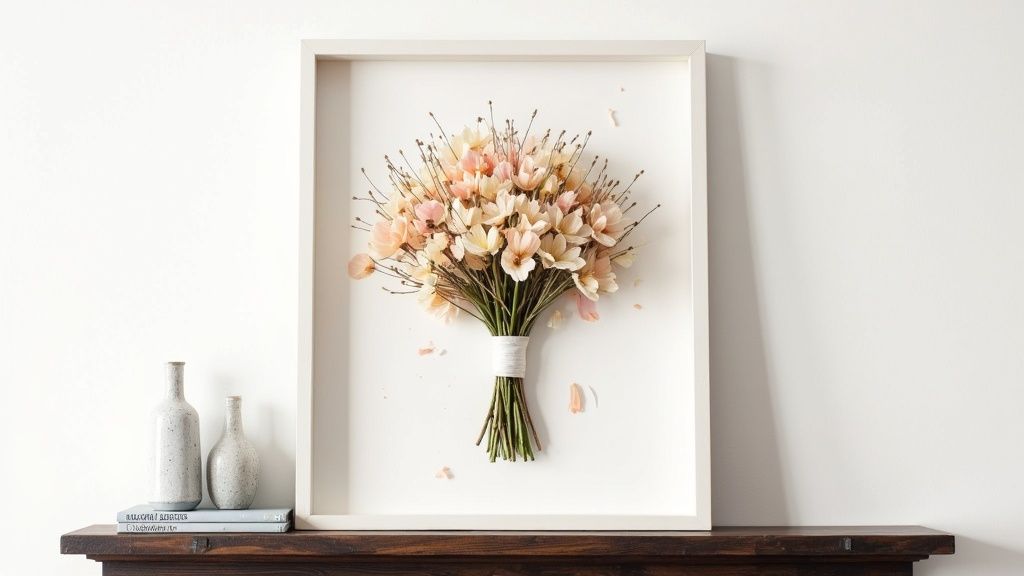
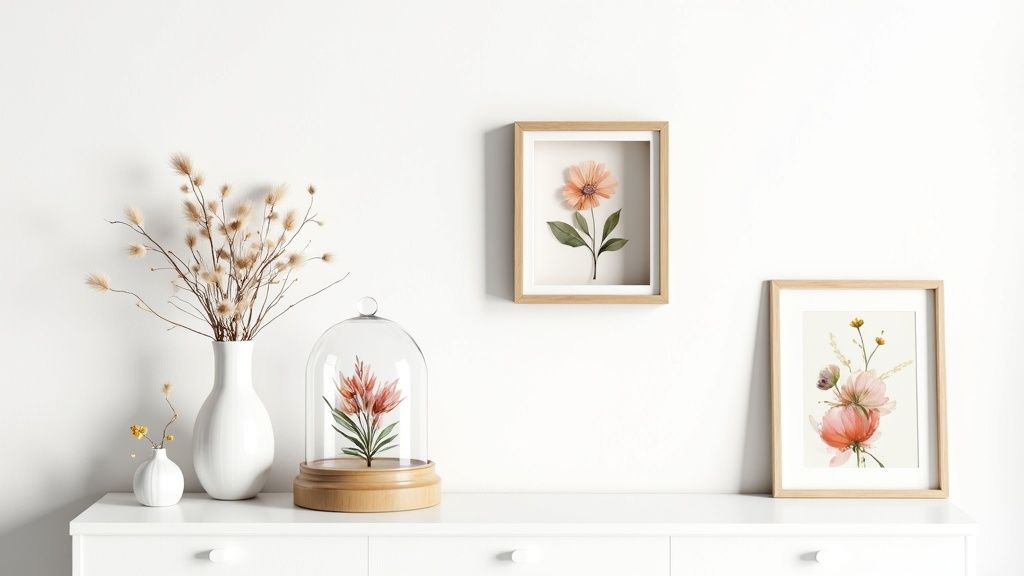
- Elegant Shadow Boxes: This is a classic for a reason. A shadow box protects your flowers from dust and creates a stunning 3D display. You can even tuck in other mementos, like a piece of lace from your dress or your wedding invitation.
- Modern Glass Domes: For a truly romantic, fairytale vibe, place your bouquet under a glass cloche or bell jar. It offers a 360-degree view while keeping your arrangement completely safe and dust-free.
- Pressed Flower Art: If you decided to press individual blooms, arranging them in a floating frame creates a beautifully delicate and minimalist piece of wall art.
Remember, the goal is to create a lasting tribute to your special day. For more general advice on maintaining floral beauty, explore our comprehensive flower care guide, which offers tips that can help extend the life of any arrangement.
Answering Your Bouquet Preservation Questions
When it comes to preserving your wedding flowers, it’s natural to have a few questions. Making the right choice for your bouquet means knowing what to expect, so let’s clear up some of the most common curiosities we hear from brides.
One of the biggest questions is always about longevity: how long will my preserved bouquet really last? It honestly comes down to the preservation method and how you care for it afterward. A professionally freeze-dried arrangement or a bouquet set in resin can look stunning for decades. If you go the DIY route with air-drying, you can still expect it to last for several years, though you’ll see the colors soften and fade beautifully over time.
Is It Too Late to Preserve My Bouquet?
Timing really is everything. This is probably the concern we hear most often. For the most vibrant, true-to-life results, you’ll want to get the preservation process started within just a few days of your wedding day. Why? Because fresh, hydrated flowers simply respond best to any technique.
If your flowers have already started to wilt, all is not lost. You might still be able to air-dry them, but the final look won’t be as crisp or colorful as it would have been. Professional methods, however, almost always require your flowers to be in peak condition to work their magic.
The best advice we can give is this: the sooner you start the preservation process, the more of your bouquet’s original, just-walked-down-the-aisle beauty you’ll be able to capture.
Another thing to consider is whether every type of flower can be preserved. While most can, some are definitely more cooperative than others.
- Hearty Flowers: Think roses, lavender, and carnations. These blooms are resilient and do wonderfully with most DIY methods.
- Delicate Flowers: More fragile beauties like lilies and orchids have a much higher success rate when you leave them to the pros for freeze-drying.
- Succulents: These are notoriously tricky. Their high water content makes them a challenge for almost any preservation method.
Knowing this ahead of time can help you set realistic expectations and choose the perfect path for preserving your specific blooms.
At Fiore, we design breathtaking bouquets that are perfect candidates for preservation, creating a beautiful start for your forever keepsake. For a custom wedding floral design in Los Angeles, visit us at fioredesigns.com.


