how to arrange flower bouquet: Quick Pro Tips

Before you even think about which flowers to choose, let’s talk about what’s on your workbench. Creating a truly stunning bouquet is just as much about the prep work as it is about the final arrangement, and having the right tools on hand makes all the difference. This isn’t just about making the process easier; it’s about setting your beautiful blooms up for a long, happy life.
Gathering Your Floral Design Toolkit

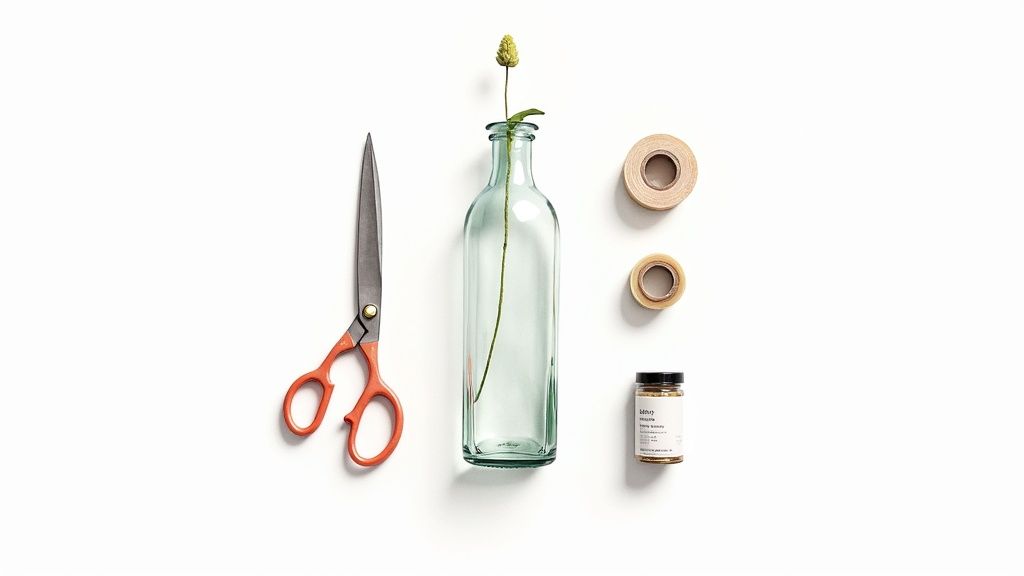
Every seasoned florist knows that the magic begins before a single stem is cut. Getting your workspace ready with a few key items is a non-negotiable first step. Think of it like a chef’s mise en place—everything in its right place, ready for you to get creative. This simple setup not only makes arranging flowers a breeze but also dramatically impacts how long your bouquet will last.
The single most important tool you’ll own? A good, sharp pair of floral shears. Please, step away from the kitchen scissors! They tend to crush and mangle the delicate water-absorbing tissues at the end of the stem. Proper shears give you a clean, crisp, angled cut every single time, maximizing the surface area for water uptake and keeping your flowers hydrated and happy.
Essential Supplies for Every Arrangement
Your vase is so much more than a pretty container; it’s the architectural foundation of your entire design. Its shape, height, and especially the size of its opening will completely dictate the bouquet’s final form. A tall, slender vase is a natural fit for elegant, long-stemmed flowers like lilies and gladiolus. On the other hand, a low, wide bowl is perfect for creating a lush, rounded arrangement overflowing with roses and hydrangeas.
Now for a little trick of the trade: waterproof floral tape. By creating a simple grid pattern across the mouth of your vase, you create a structure of small pockets that will hold each stem precisely where you place it. This is the secret to preventing flowers from flopping over or shifting out of place, giving you total command over your composition.
Pro Tip: For this grid trick to work, the rim of your vase must be bone-dry before you apply the tape. If you’re using a glass vase, opt for clear floral tape to keep your mechanics completely invisible.
What about those beautiful but heavy-headed blooms, like big, gorgeous peonies or gerbera daisies? Thin floral wire is your best friend. You can discreetly wrap it around a weaker stem to give it the reinforcement it needs to stand tall and proud in your arrangement.
The Unsung Heroes of Bouquet Longevity
Finally, let’s talk about the most overlooked item: flower food. You know those little packets that come with your grocery store flowers? Use them! They are a scientifically formulated cocktail of sugar (for energy), an acidifier (to improve water uptake), and a biocide (to stop nasty bacteria from growing). Tossing this into your water is an absolute must if you want a bouquet that lasts.
Putting together your own kit and crafting personalized arrangements at home is part of a much bigger movement. The U.S. floral gifting market was valued at an impressive USD 12.18 billion in 2024 and is on track to hit USD 16.81 billion by 2030. This boom is driven by people just like you who want unique, customizable bouquets. With the right tools, you’re all set to be a part of that trend. You can dive deeper into these market trends and their impact on floral design.
Before we move on, let’s quickly recap the essential tools you’ll want to have at the ready.
Your Bouquet Arrangement Toolkit
This table breaks down the must-have items for your floral toolkit, what they’re for, and a few insider tips for each.
| Tool/Material | Primary Use | Pro-Tip |
|---|---|---|
| Floral Shears/Clippers | Creating clean, angled cuts on stems for optimal water absorption. | Bypass shears are best for most flowers; avoid using household scissors, which crush stems. |
| Vase or Container | Holding the arrangement and providing water. | Choose a vase whose opening is proportional to the size of your bouquet to provide proper support. |
| Waterproof Floral Tape | Creating a grid on the vase opening to secure stems in place. | Ensure the vase rim is completely dry for strong adhesion. Use clear tape for glass vases. |
| Thin Floral Wire | Supporting weak or heavy-headed flowers. | Wrap it discreetly around the stem; for hollow stems, you can insert the wire inside. |
| Flower Food | Nourishing flowers and prolonging their life. | Always use the packet provided or a homemade equivalent. Change the water and add new food every 2 days. |
| Watering Can/Pitcher | Filling the vase with fresh water. | A long-spout watering can makes it easy to top off the water level daily without disturbing the arrangement. |
Having these items on hand will transform your bouquet-making from a guessing game into a genuinely creative and rewarding process.
Choosing and Prepping Blooms for a Longer Life

The secret to a stunning, long-lasting flower arrangement actually starts long before you place the first stem in a vase. It all comes down to choosing the freshest blooms and giving them the proper care the moment they get home. This is the foundation that separates a bouquet that wilts in a day from one that thrives for a week or more.
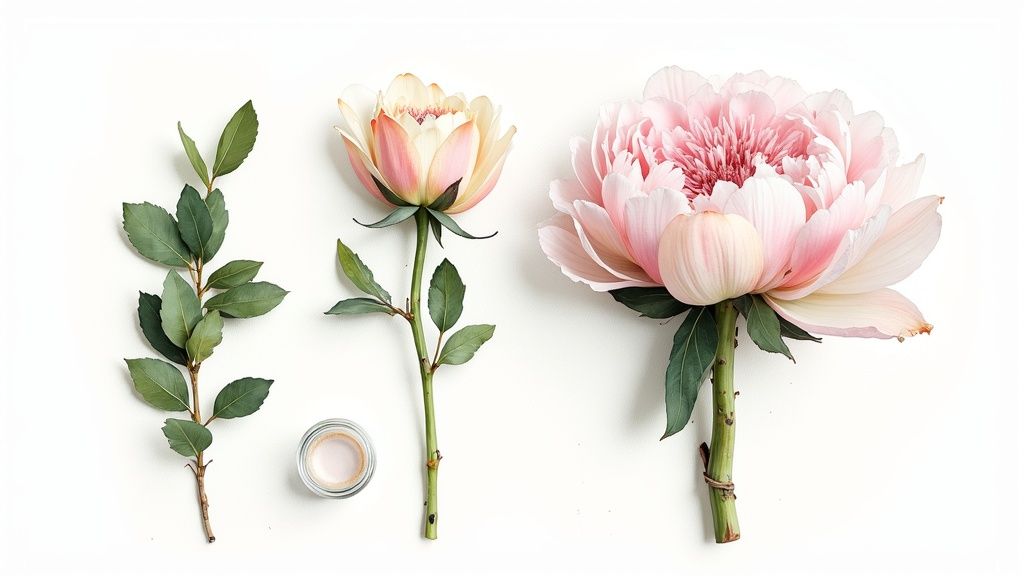
Whether you’re at the market or in your own garden, be picky. Look for flowers with firm stems and vibrant, healthy leaves. The biggest clue is in the buds—always choose flowers that are just starting to open rather than those already in their full glory. A tightly closed tulip or a rose with its outer guard petals still intact has its whole life ahead of it.
Building a Dynamic Floral Palette
To create an arrangement with real depth and visual interest, you have to think like a designer. A well-balanced bouquet typically includes three key players: thrillers, fillers, and spillers. Trust me, this simple framework is a game-changer for anyone learning to arrange flowers.
- Thrillers (Focal Flowers): These are your absolute showstoppers. Think big, dramatic blooms like peonies, dinner-plate dahlias, or elegant lilies that will command attention.
- Fillers (Supporting Blooms): These are the flowers that add texture and fill in the gaps around your focal points. Options like baby’s breath, waxflower, or statice provide volume and complement the main event without stealing the show.
- Spillers (Greenery and Accents): This is your foliage and any elements that drape or “spill” over the edge of the vase, like eucalyptus, ivy, or amaranthus. They give the arrangement a soft, organic shape.
This kind of strategic selection is becoming more important as people everywhere fall more in love with beautiful arrangements. The global cut flower market, valued at about USD 31.1 billion in 2024, is expected to soar to USD 56.4 billion by 2034. This growth shows a worldwide appreciation for a well-crafted bouquet, making these pro techniques more valuable than ever.
The Florist’s Prep Work for Lasting Beauty
Once your flowers are home, the real work begins. This prep stage is non-negotiable if you want your bouquet to last. First things first: carefully remove any leaves from the lower part of each stem—anything that will sit below the waterline. Submerged leaves rot fast, creating bacteria that will clog the stems and kill your flowers.
Next, it’s time for a fresh cut. Using sharp floral shears or a knife, trim at least an inch off the bottom of each stem at a sharp 45-degree angle. This creates more surface area for water absorption, basically giving your thirsty flowers a bigger straw to drink from.
Here’s the most crucial step after cutting: immediate hydration. Place your freshly trimmed stems into a clean bucket of lukewarm water with flower food for at least a few hours before you start arranging. This conditioning period lets them fully rehydrate after their journey, making them stronger and more vibrant for your final design.
Proper prep is truly everything. For even more expert tips on making your arrangements last, check out our detailed guide on how to make flowers last longer. And to keep your flowers looking beautiful, whether in the garden or a vase, understanding techniques like deadheading flowers is essential for promoting health and vibrancy. Taking these extra few minutes for prep is the single best investment you can make in your bouquet.
Building Your Bouquet with the Grid Method
This is where the magic really starts to happen—where all your beautiful stems come together. If you’ve ever felt the frustration of placing a flower in a vase only to have it immediately flop to the side, you’re not alone. We’re going to put an end to that with the grid method.
This is a little secret from the floral design world. It’s a simple but game-changing technique that gives every stem a place to land, creating a balanced, stable arrangement that looks professional every single time. Instead of just hoping for the best, you’ll have a clear plan.

We’ll build this bouquet in thoughtful layers, starting with a strong foundation and working our way toward those delicate, whimsical final touches. It’s like building anything else—you need a solid framework before you can hang the art.
Creating Your Greenery Foundation
First things first, we need to create a structural base with your foliage. This isn’t just about adding some pretty leaves; you’re literally creating a natural “web” right at the mouth of the vase. Stems like eucalyptus, salal, or even leatherleaf fern are perfect for this.
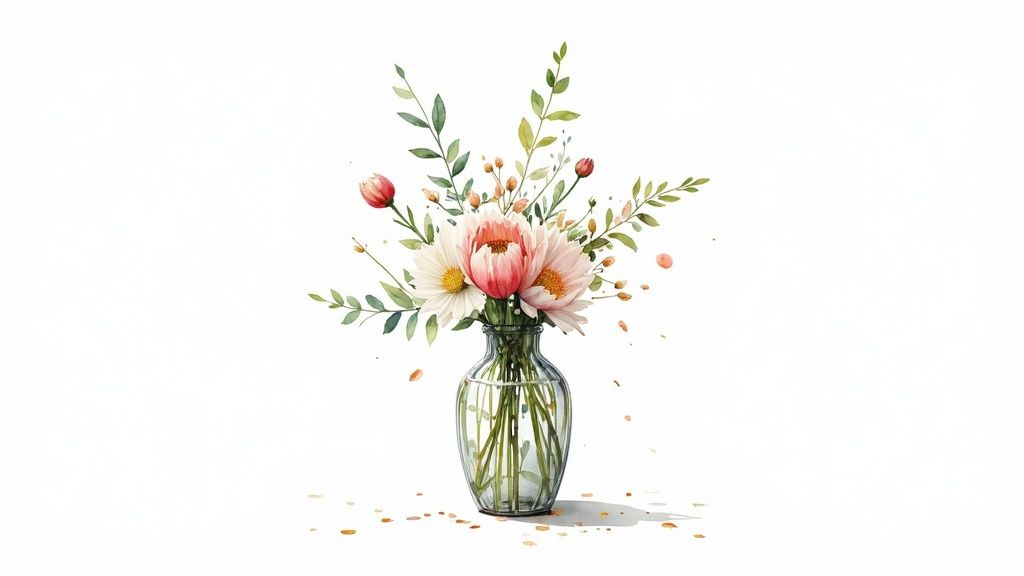
Start by crisscrossing a few stems of greenery in the vase. Let them interlock. You’ll quickly see a supportive lattice begin to form, creating little pockets that will hold your flowers exactly where you want them. As you add more foliage, keep turning the vase. This ensures your base is even and balanced from every angle. This simple framework is the key to preventing your bouquet from looking lopsided.
Placing Your Focal Flowers
With that green nest in place, it’s time for the stars of the show: your focal flowers. These are the big, eye-catching blooms—the roses, peonies, or dahlias that will immediately draw attention. Think of them as the anchor points for your entire design.
Add them one by one, nestling them into the pockets you created with the greenery. A great tip here is to work in odd numbers. For some reason, groups of three or five just look more natural and appealing to the eye than even numbers do.
Key Takeaway: As you place each focal flower, get in the habit of rotating the vase. It’s a simple move, but it’s what separates a nice bouquet from a stunning one. You want it to look intentional and beautiful from all sides, not just from the front. Play with the heights, too—tucking some slightly deeper than others creates a much more natural sense of depth.
A quick note: if you’re using dahlias, remember their stems are hollow and can be a bit fragile. Guide them into the grid gently to avoid any heartbreaking snaps.
Weaving in Filler and Spiller Elements
Okay, your main flowers are set. Now it’s time to bring in the supporting cast. These are your filler blooms—the smaller flowers like waxflower or statice that add texture and fill in any gaps.
Tuck them in around and between your focal flowers. This is how you build out the bouquet’s volume and achieve that lush, full look everyone loves.
Finally, we add the “spillers.” These are the graceful, draping elements that give your bouquet a touch of romance. Think hanging amaranthus or a few tendrils of ivy cascading over the lip of the vase.
- Spillers add movement: They soften the hard edges of the vase and make the whole thing feel more alive.
- They create an organic shape: Spillers break up any stiffness, giving the bouquet a relaxed, just-gathered-from-the-garden feel.
Don’t be shy about letting these elements hang down a bit. This final layer adds that effortless, professionally styled elegance and is the perfect finishing touch.
Taking Your Bouquet to the Next Level
Once you have the basic grid method down, it’s time to get into the really fun stuff. This is where you move from just assembling flowers to truly designing them. These next few techniques are less about strict rules and more about developing an artist’s eye for balance, movement, and personality.
This is how you create a bouquet that doesn’t just look pretty, but feels alive.
A classic technique that every professional florist has in their back pocket is spiraling. You hold the bouquet in one hand, and as you add each new stem, you place it at a slight angle, turning the bunch as you go.
It creates this gorgeous, interlocking swirl of stems that actually helps the bouquet stand up on its own. The result is a perfect, gently domed shape on top where every bloom has its own space to shine. It takes a bit of practice to get the muscle memory down, but it’s a total game-changer.
Forget Perfect: Embrace Asymmetry and Depth
While a perfectly round bouquet is timeless, so much of modern floral design is about celebrating natural, organic shapes. Creating an asymmetrical arrangement gives your work a wild, just-picked-from-the-garden feel that’s incredibly chic.
Let some stems reach a little higher on one side, while others cascade gracefully on the other. This little trick creates a beautiful sense of movement and guides your eye through the arrangement. For more inspiration on building these kinds of dynamic shapes, you can find tons of fresh flower arrangement ideas on our journal.
Another secret to a professional-looking bouquet is creating visual depth. You want to avoid having all your flower heads sitting on the same flat plane.
- Tuck some blooms deeper into the arrangement. This creates little pockets of shadow and intrigue.
- Let other stems float a bit higher than their neighbors, giving the whole piece an airy, three-dimensional feeling.
Layering your flowers like this makes the bouquet infinitely more interesting to look at from every single angle.
A Quick Note on Flower Sources: The incredible variety of flowers we can access today really makes these advanced designs possible. Europe’s market is massive, with the Netherlands alone responsible for about 50% of global flower exports. This global network is a huge reason why we can play with so many unique textures and colors in our bouquets.
Design with Color in Mind
Okay, let’s talk color. Moving beyond just “these look nice together,” a thoughtful color palette can create a specific mood and a powerful visual story. A little bit of basic color theory can make a huge impact.
Here are a few of my favorite approaches to play with:
- Monochromatic: This involves using different shades and tints of a single color—think everything from a pale blush pink to a deep, moody burgundy. It’s incredibly sophisticated and always looks intentional.
- Analogous: Here, you pick colors that live next to each other on the color wheel, like yellows, peaches, and soft oranges. The result is always harmonious and feels very natural and serene.
- Complementary: For a real pop of energy, pair colors from opposite sides of the color wheel. Think vibrant oranges with deep blues, or rich purples with sunny yellows. The contrast is electric.
Once you start experimenting with these ideas, you’ll see your bouquets transform. You’re no longer just putting flowers in a vase; you’re developing your own unique, signature style.
Making It Last: Final Touches and Post-Arrangement Care

You’ve assembled your bouquet, but the creative process isn’t quite over. These final details are what truly elevate your work from a simple bunch of flowers to a polished, professional-looking arrangement. It’s time to step back and play the role of the editor.
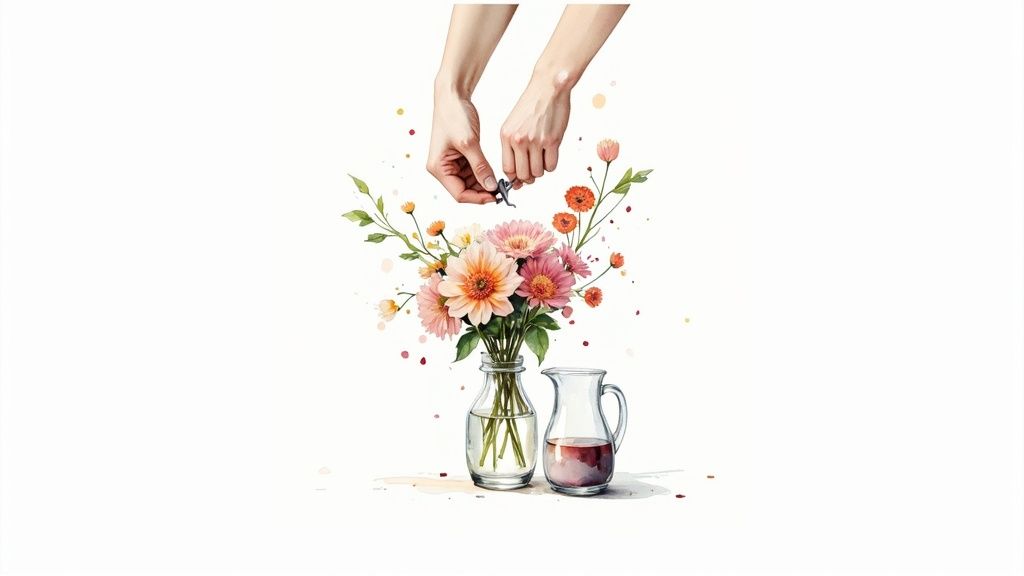
Give the vase a slow spin. Look at it from every angle—the top, the sides, even from across the room. Do you spot any awkward gaps? Is there a rogue leaf breaking the silhouette you worked so hard to create? Now’s your chance to make those tiny, but crucial, adjustments. Snip away any bruised petals or distracting foliage, and make sure any mechanics like floral tape are completely hidden from view.
Keeping Your Bouquet Fresh and Vibrant
With your arrangement looking picture-perfect, your focus can shift to making it last. Knowing how to care for your bouquet is just as important as the arranging itself. A little TLC can easily double the life of your flowers.
First things first: placement is key. You’ll want to keep your bouquet out of direct sunlight and away from heat sources like vents, radiators, or even the top of your TV. It’s also a good idea to keep it away from your fruit bowl. Ripening fruits like apples and bananas release ethylene gas, a natural hormone that speeds up wilting.
A common mistake is just topping off the water. Your flowers are thirsty, and old water can quickly get cloudy with bacteria that clogs the stems. Change the water completely every two days, and don’t forget to add a fresh dose of flower food each time.
The Secret to Extending Bloom Life
Here’s a pro tip to give your flowers the best shot at a long and beautiful life: give the stems a fresh trim every couple of days right when you change the water.
Using your sharp floral shears, snip about half an inch from the bottom at that same 45-degree angle. This simple step is a game-changer; it removes any sealed or clogged stem ends and reopens the channels, allowing the flowers to drink more efficiently.
If your arrangement is for a truly special occasion, you might even think about preserving it forever. For those looking to turn a fleeting moment into a lasting keepsake, you can learn more about techniques in our guide on how to preserve a wedding bouquet.
Your Top Flower Arranging Questions, Answered
Even after you’ve learned the ropes, a few tricky situations can pop up when you’re arranging flowers. I get it. I’ve been there. Let’s walk through some of the most common hurdles people face and how to clear them with confidence.
Making Grocery Store Flowers Look Expensive
This is probably the number one question I get. How do you take a simple, inexpensive bunch of flowers from the supermarket and make them look like they were designed by a pro? The secret isn’t magic—it’s deconstruction.
Never, ever just drop that plastic-wrapped bouquet into a vase as-is. The first thing you need to do is take it completely apart. Snip the rubber bands, lay out every single stem, and separate all the flowers from the greenery.
Once you have your individual components, you can build your own arrangement from the ground up using the techniques we’ve already covered. If you can, snip a few interesting branches or leaves from your own garden to mix in. This single step—rebuilding it yourself—is what gives you that polished, bespoke look.
What’s the Right Vase for My Bouquet?
The vase is more than just a container; it’s the foundation of your entire design. I see this all the time: a beautiful arrangement that just… falls flat. The culprit is almost always a vase with an opening that’s far too wide, causing the stems to flop over and lose all their structure.
Here’s a solid rule of thumb I always follow: the height of your finished arrangement should be about 1.5 to 2 times the height of your vase. You also want the bouquet’s width to be a bit wider than the vase itself. This creates that full, balanced silhouette we’re all after.
But what if you only have a wide-mouthed vase? No problem at all. That’s the perfect time to use the floral tape grid trick we talked about earlier. It creates the support your stems need to stand tall and stay exactly where you want them.
Help! My Flowers Are Drooping.
There’s nothing more frustrating than seeing a gorgeous bloom suddenly start to wilt just a few hours after you’ve put it in the vase. This happens a lot with certain flowers, especially those with woody stems like hydrangeas or hollow stems like dahlias.
Nine times out of ten, the problem is a tiny air bubble trapped in the stem. It’s blocking water from getting all the way up to the flower head.
Luckily, there’s a quick fix that works like a charm. Here’s what you do:
- Gently pull the wilting flower out of your arrangement.
- Take it to the sink and re-cut the stem at a sharp angle under cool running water.
- Immediately place that stem into a small cup of very warm (but not boiling!) water for 30 to 60 minutes.
This little “shock treatment” forces the air bubble out and lets the stem drink freely again. You’ll be amazed at how quickly it perks back up, ready to rejoin the party. It’s simple fixes like these that make all the difference.
Ready to leave the arranging to the experts? The talented team at Fiore specializes in creating stunning, custom floral designs for any occasion in the Los Angeles area. From elegant wedding bouquets to same-day flower delivery, we bring artistry and fresh, seasonal blooms to every arrangement. Explore our designs at https://fioredesigns.com.


